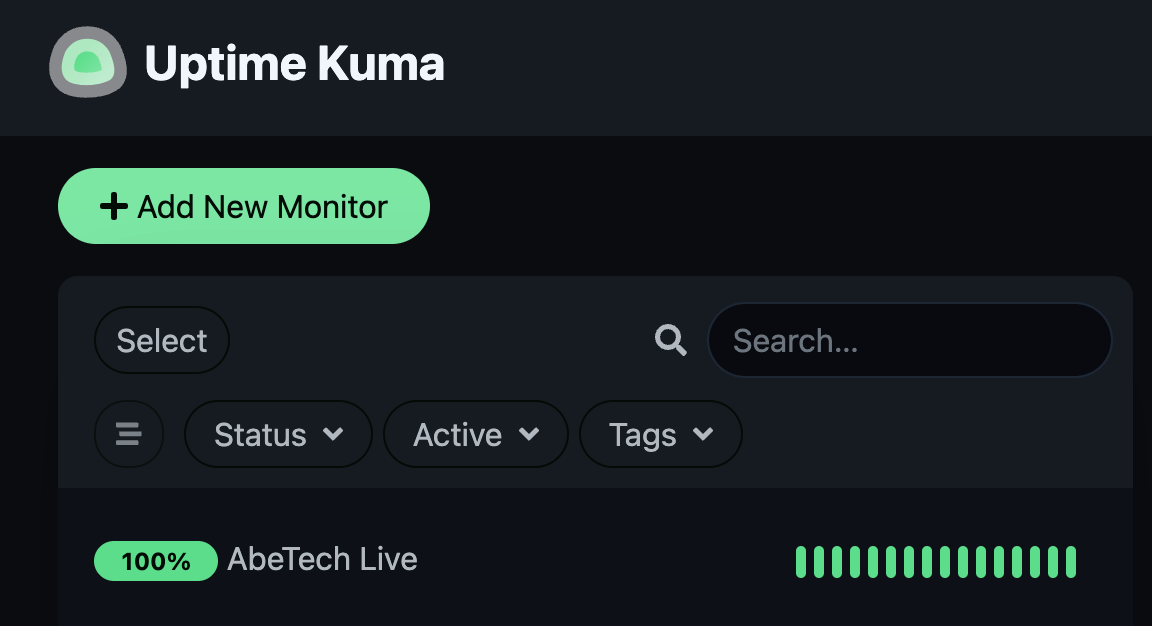
This amazing tool helps you monitor website and devices
Over the past couple of years, I have deployed and self hosted multiple instances of VMs and containerized applications from nginx, to network shares, and CMS just to name a few. Many of which that are crucial to my day to day and maintaining operations of my homelab. On this post, I am going to be talking about Uptime Kuma. A containerized uptime monitor which can be hosted at home with Docker.
Uptime Kuma is a modern uptime monitor that helps track services in HTTP(S), SSL Certificates, Website using keywords, ping devices on your network, DNS and more! It offers a stylish and modern site that you will not feel bad for looking at it. You can even setup alerts to email, webhooks notifications to Discord, Slack and even SMS and Telegram and many many more. You can set different status pages per monitor you can set one for internal or external services and even schedule maintenance windows to help anyone visiting the status page look at what your services are doing or if something is failing.
With this introduction, let's go ahead and dive into deploying this containers and demoing the tool.
Installing Uptime Kuma in docker
Uptime Kuma is such a lightweight tool that can be easily deployed in a Docker container. This helps make the tool much easier for deployment and configuration.
Installing Uptime Kuma on docker is as simple as running the following command:
docker run -d --restart=always -p 127.0.0.1:3001:3001 -v uptime-kuma:/app/data --name uptime-kuma louislam/uptime-kuma:1
Let's digest the install
We are running Docker run to run the container info provided in the line. -d helps run the container in detach mode or in simple terms, it helps run the docker container in the background. We are always restarting the container regardless of the status of the host, meaning that if the host shuts down for any reason, the container will start back on upon boot. -p helps assign a port. In this instance, Uptime Kuma will be utilizing port 3001 externally and internally for listening to traffic. You can ultimately utilize a different external port, for this make sure the first set of numbers for the port is the only changes. containers rely on their default configured port to allow external communication. An example of utilizing a different port for this container would be -p 127.0.0.1:8080:3001. The -v flag tells the container to create a volume for persisting the data. All the internal container information stored in the /app/data will be stored on the host directory uptime-kuma. This means that depending on the directory that you run this, it will create the uptime-kuma and store its content there. --name is self explanatory, this just assigns the container a name. Lastly, louislam/uptime-kuma:1 is the container image.
With this understood, we can press enter and the host will use the docker command and download the container image and spin up the container.
To access Uptime Kuma, you may open the browser and enter http://localhost:3001 or http://127.0.0.1:3001 or http://<hostIP>:3001
This should take you to the login page to complete creating the administrator account. Now disclaimer, self-hosting Uptime Kuma only allows for one user account to be used, make sure to not forget the username and password. If you will be exposing this service to the public, make sure to use a strong password and turn on 2FA.
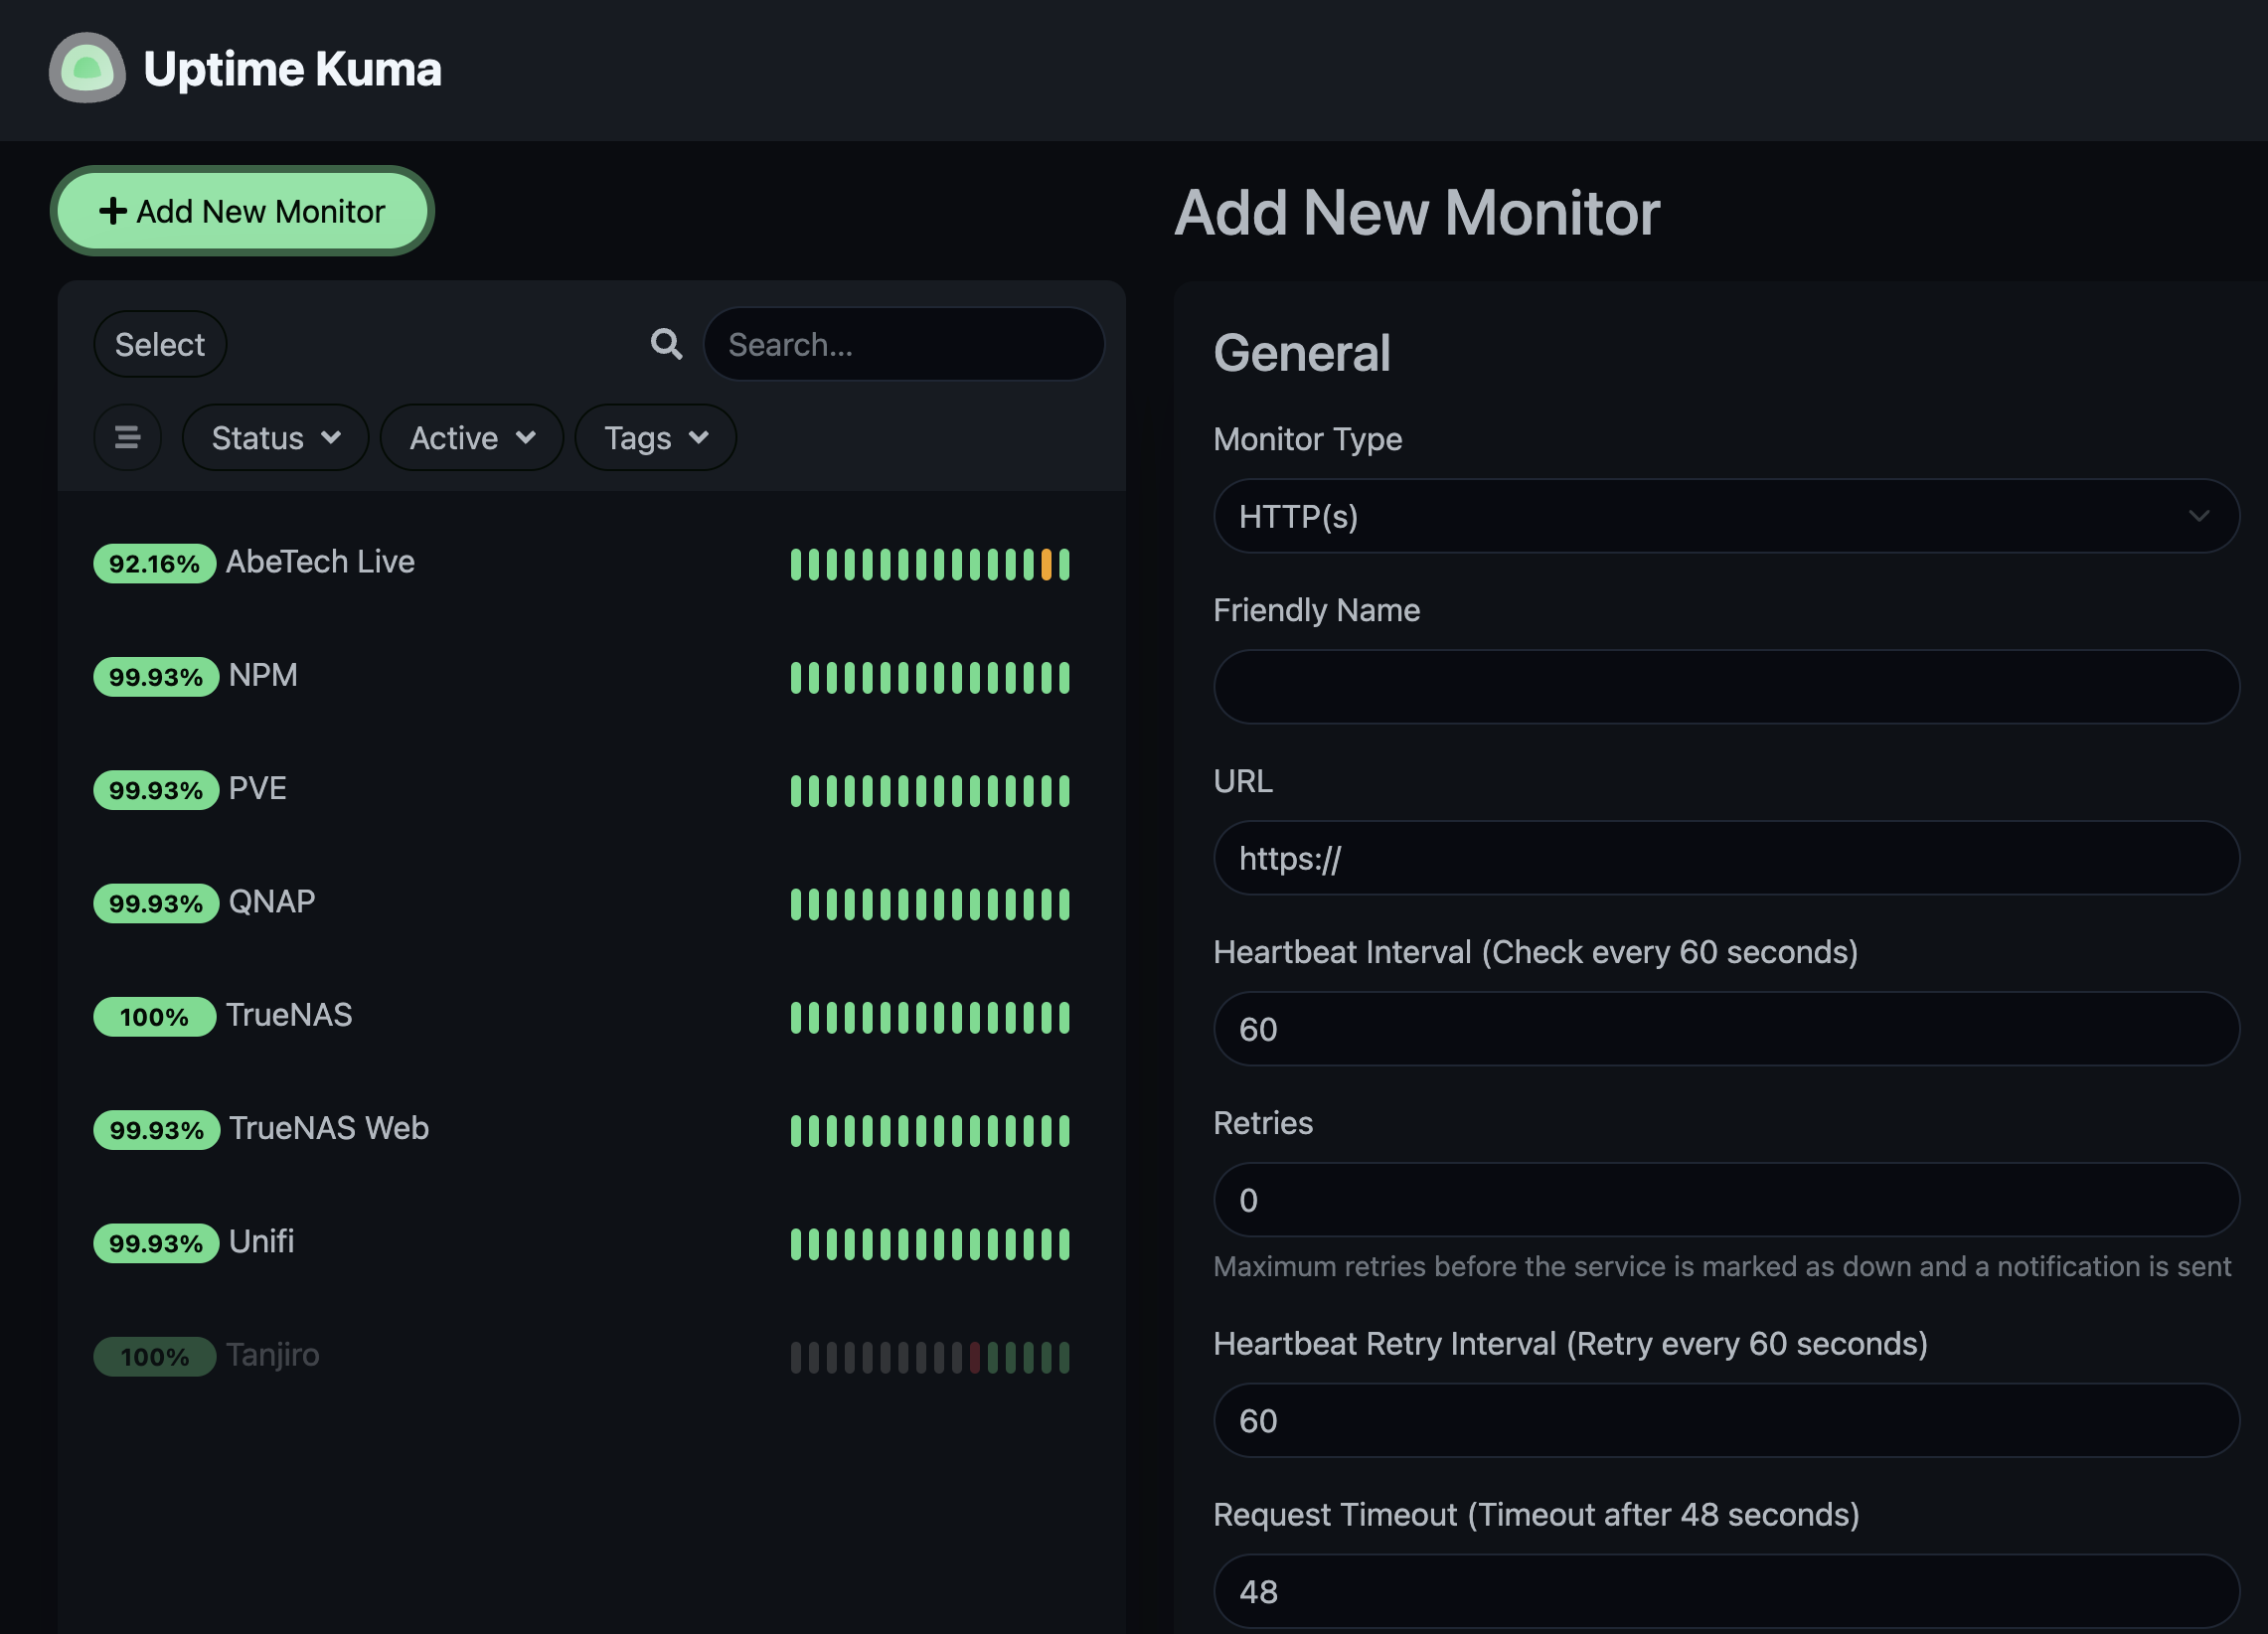
Let's setup some monitoring
We are going to setup a basic HTTP(s) monitor. From the main page, we are going to click on "Add New Monitor". By default, this is going to be populated with the HTTP(s) but you also have the option to confirm if a site is up by looking up a keyword and it could be anything within the website.
We can now fill out some fields like the monitor type, friendly name and URL.
For the most part we do not need to touch any of the other configurations but you sure can change the heartbeat timer and this is tracked in seconds.
Once we fill out the needed fields, we can click on save and short enough Uptime Kuma will start checking heartbeat.
Side note
You can also configure the advance settings to remind you when the certificate is about to expire. This is also helpful if you're self hosting and you have assigned SSL Certificates on your website.
Other Monitor types
Uptime Kuma also offers other monitor types like Ping, Port based, DNS, HTTP(s) Keyword, HTTP(s) JSON, Docker Container and push. This tool can help monitor plenty of services.
Configuring notifications
Uptime Kuma offers a wide range of notification options. The list is pretty long but here are some of the popular options for homelabbers and some helpful for larger organizations: Telegram, Webhooks, Discord, Slack, SMTP, Microsoft Teams, Pushy and even Pager Duty. Uptime Kuma keeps you informed with an ample list of notifications integrations.
To configure the notifications, click on your name then settings > notifications.
You can add as many notifications as you want and even set them as the default notification for future monitors.
Final Remarks
Uptime Kuma is a very well rounded uptime monitor that can be easily hosted at home via a docker container. I personally use it to track when my internal services goes down from my storage NAS, to my docker containers and websites. I highly recommend using this tool to ensure you do not miss any notifications of your critical services going down. It offers a stylish and modern dashboard that I just cannot stop looking at.
If you enjoyed the content, please consider subscribing as it helps the blog grow and motivates me to write more articles about containers and product review.