How to backup your Linux servers using RSync

Over the past couple of blog posts, I have shared with you about TrueNAS Scale, How to create NFS shares and utilizing those to store your docker container data. On this post, we are going to discuss how you can use the share and backup other directories using RSync.
For beginners, RSync is an advanced copy tool utilized in Linux to copy files between directories and between hosts. Example, you can copy files from your home directory to a mounting directory that is being mounted via a share. RSync has advanced switches or options that helps administrators (you the homerlabber) backup directories and/or servers much easier. Some of the features of RSync are:
- Copying links, devices, owners, groups, and permissions
- It can exclude file types to minimize transfer time
- It can transfer files to and from devices
Now that we know a little more about RSync, let's talk about the different options/switches that RSync utilizes, what they mean and then we'll do a demo of this tool locally.
| Option | Info |
|---|---|
| --archive or -a | Is the default switch for archiving files. |
| --verbose or -v | Helps display an output for the file transfer. |
| --dry-run or -n | Used to mock a file transfer, often used to see if you would encounter any issues when running rsync. |
| --progress | Shows a progress of your file transfer. |
| -P | Shows partial progress. |
| --recursive or -r | Recursively moves files from a directory. |
| --relative or -R | Uses relative path names. |
| --update or -u | Updates newer files in the destination. |
| --inplace | Updates the destination files in-place. |
| --append | Appends data into shorter files. |
| --backup or -b | Is used to make backups and works along with --backup-dir and --suffix |
| --backup-dir | Makes backups into hierarchy based in DIR. |
| --suffix | Is used to add a backup suffix |
After looking at some common utilized switches and options, we can then utilize them to create some backups with RSync. Let's see some examples:
To create a demo backup and see how things are running before running an official backup, we can run the following command:
sudo rsync -avP --dry-run ~/directory1 /mnt/directory2In this command, we run rsync with archive, verbose and partial progress in dry-run mode. We are moving files from directory1, often the directory you want to copy, to directory 2, a destination directory. Let's see how this looks like:
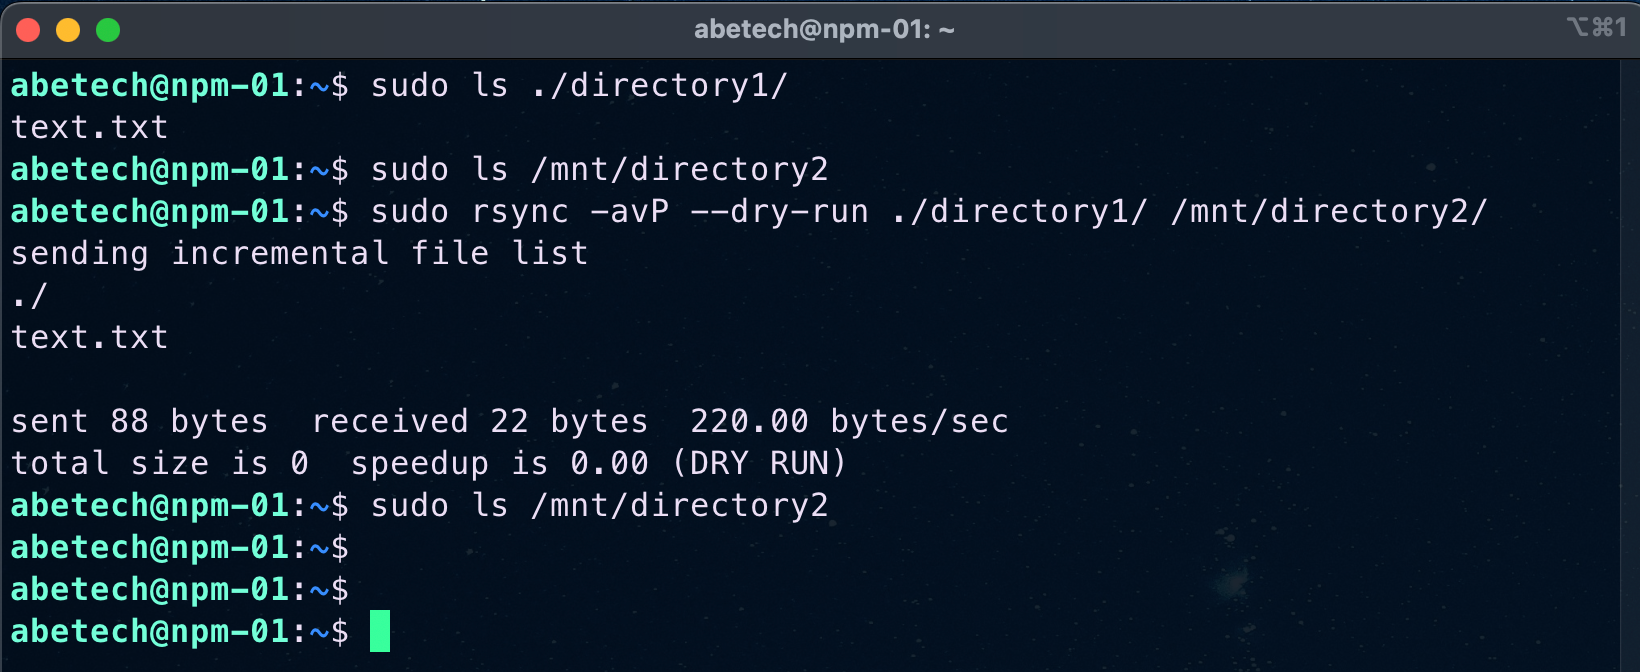
In this same example, I have listed the contents of ~/directory1 and we also listed the contents of /mnt/directory2 to verify the contents. I then ran the command above with the --dry-run switch just to see how fast and issues I may encounter during the backup, which no issues were found. Lastly, I listed the contents of /mnt/directory2 to confirm no data was copied over on accident.
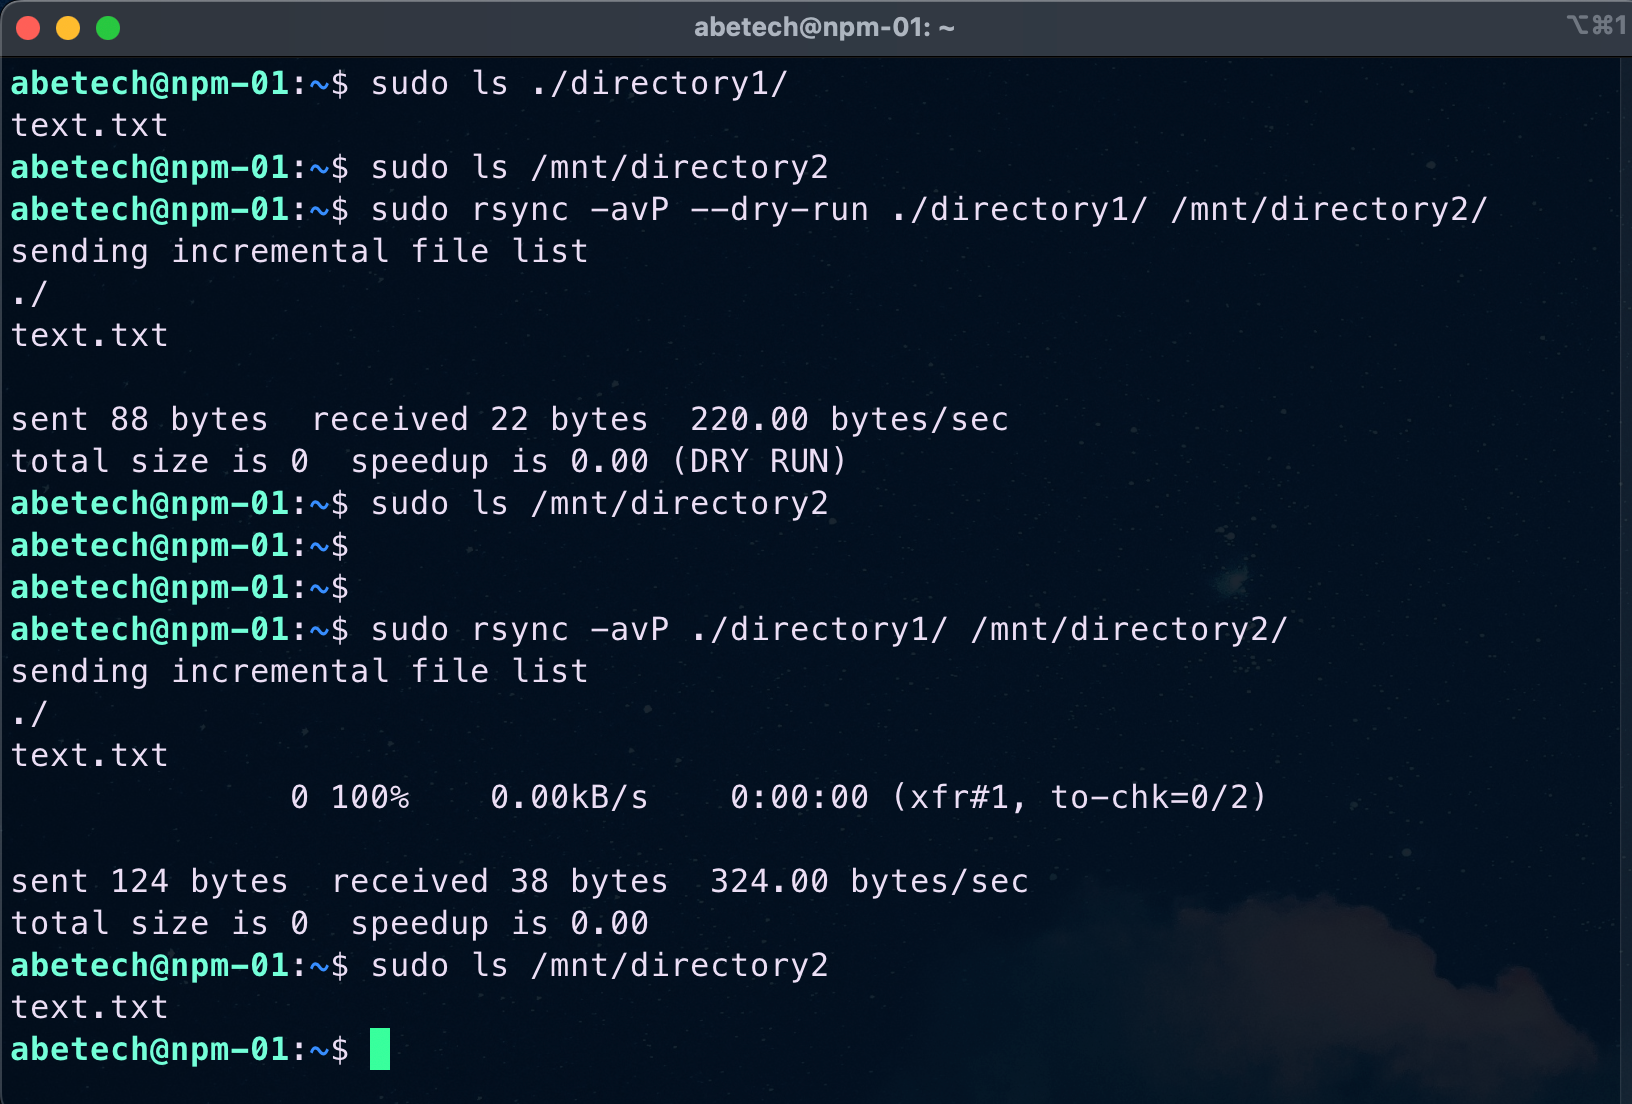
In order to engage on this backup, you can simply remove the --dry-run switch and the files will be copied over.
You can also copy files to or from a remote location to the server you're logged in. An example is:
sudo rsync -avP ~/directory1 [email protected]:/mnt/MainPool/example-nfs-share/directory2

sudo rsync -avP [email protected]:/mnt/MainPool/example-nfs-share/direcotry2 ~/directory1
On these examples we can see that we are moving files to or from a remote location/Server. One important note is that RSync cannot copy files between remote locations. An example of how this will NOT work is if you try with the following command:
sudo rsync [email protected]:/mnt/MainPool/example-nfs-share/directory2 [email protected]:/mnt/MainPool/example-nfs-share/directory1Here you notice that I am trying to remotely connect on two different remote locations and this is not allowed.
Now that we understand the command and the different options, we can create a recurring job to run this command to backup our directories.
Automating RSync jobs using crontab
In order to create a recurring backup job, we need to leverage the crontab . This will help us utilize the rsync command we just put together to create recurring backups.
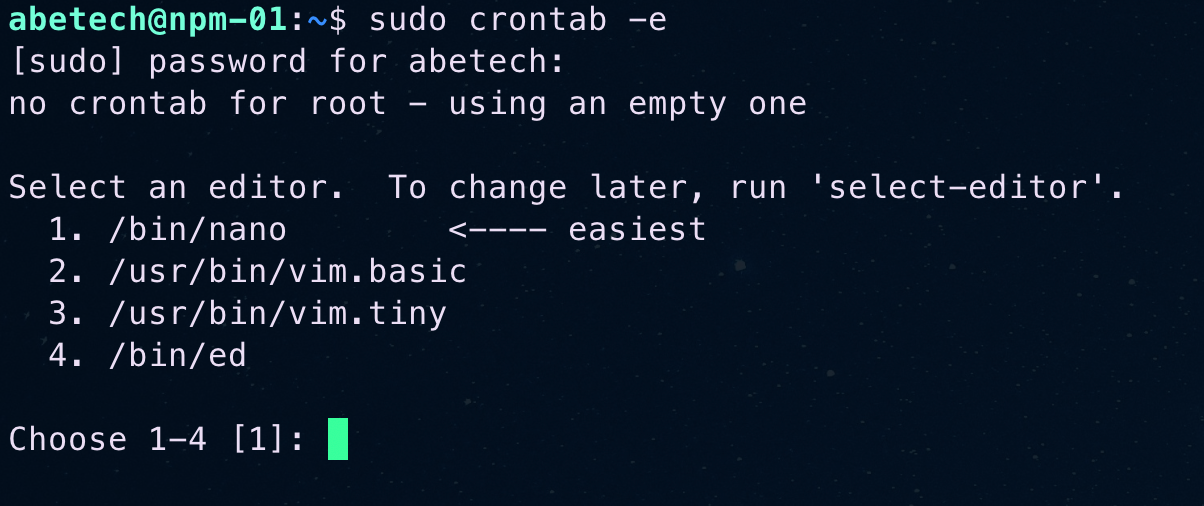
In order to access the crontab we run the following command:
crontab -eThis will as us for a preferred text editor, in my case, I am using nano so I am selecting option 1.
Then we want to scroll all the way to the end of the document and add a new line with the following arguments:
 m  h  dom  mon  dow   command
 *  *  *    *    0     rsync -avP ~/directory1 /mnt/directory2
The first line should be commented to prevent issues. On this example, it is not commented purely for examples so that you understand what each * means.
mstands for minuteshstands for hoursdomstands for day of the month in the form of1-31monstands for month of the year in the form of1-12dowstands for day of the week in the form of0-6where0is Sunday and6is Saturday.
Lastly, save the crontab file and confirm if a cronjob is created by running crontab -l.
Final Remarks
RSync is a simple but powerful tool that allows linux administrators to backup directories and files. We also understand how rsync work by looking at the different switches and options as well as the limitations when trying to use this tool between remote locations.
On a future blog post, I am going to discuss how to use RSync and TrueNAS to backup your servers and also to create backups to a remote location.
If you've enjoyed the content, please consider subscribing or engage on discussions on LinkedIn or Twitter. More details of my socials at https://links.abetech.live