Homelab Stack Update

Hello everyone, thank you for coming back to AbeTech Live!
It's been a while since I last touched on my server stack and a lot has changed since. I have upgraded the network and added a couple of new servers. I also restructured how I am accessing my servers and services. From a new firewall to new servers and security policies I have implemented, this post will be loaded with cool updates.
Let's start with the core of the systems and that is the network. Since my last post, I migrated from using PfSense to using a Unifi Dream Machine Pro. This was to allow myself a more stylish management console and remote management as well. I can say that the Unifi Dream Machine Pro really is a dream, no pun intended. Since the migration, I was able to replicate my network and restructure it in a way that makes more sense moving forward. Some of the changes implemented was a unified way of VLAN segmentations, new firewall rules and something really cool about the Wifi. I now run a VLAN for Management, Wireless (IoT), Guests, Storage, Servers and an external VLAN (back in the days this used to be called the DMZ). I have put in place various firewall rules that allows communication to the necessary devices between Storage and Servers as well as restrictions for the external VLAN. I also added a new 48 Port Cisco switch, Cisco SG200-52. This nows widens my ability to setup VLAN Tagging and Link Aggregation with more ports available.
Next up, we have the server additions. I recently obtained a Dell R710, yes I know it is outdated but it is just around the time my current servers are. I currently run on a custom build 2U server running Supermicro and 128Gb of Ram. The R710 has about the same configuration but allows for remote management via the web and a RAID card. I configured a raid 6 with 5 2TB HDD as well as a RAID 0 with a 256GB SSD. I have installed Proxmox, a hypervisor that is known in the Homelab community. I setup The RAID 6 virtual drive as a storage ZFS that is hosting my VM disks and configurations. I also configured VLAN awareness using the 2 of the 4 Nic ports via a link aggregation, and backups to an NFS share that goes into my TrueNAS system.
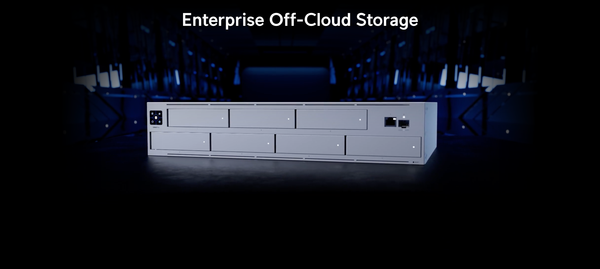
Now that we touched TrueNAS, I also introduced a TrueNAS into my infrastructure stack. This was my old gaming computer, I am using this unit for backups and experimenting with some containers that is facilitated by TrueNAS Scale this way the full power of this PC does not goes to waste. I have configured multiple NFS shares and configured a backup job to ensure the data is backed up on another device. Yes, this is the monster QNAP that I reviewed on another post.
Moving on with the changes on the lab, hardened the access to the VMs by making use of the SSH Keys and modifying the SSH configuration file. Turning off root login, password sign in, preventing users without password, changing the SSH port and limiting the information displayed when SSHing into any of the VMs.
I spent a good amount of time reviewing best practices and documenting my findings and ensuring that all the security changes listed above worked as intended by sign in from other devices that were not registered.
In conclusion, a homelab is never completed and it takes time and practice to ensure you have it running as intended. I love the ability to run my own services as it brings joy and keeps me motivated during my day to day at work. Not all work places gives you the ability to work and implement experimental things and this is what I love most about running a lab at home. I am looking forward to share my journey and help you get motivated and start your own.
Thank you for your time and read!
If you enjoyed the read, please consider subscribing as it helps build that confidence and keep the content coming!


